Images & media
Images and files are committed straight into your repository, next to the content that uses them — no separate media host to manage.
Adding an image
There are a few ways to add an image to a body field:
- Drag & drop a file from your computer straight into the editor.
- Paste an image from your clipboard.
- Use the image button in the toolbar to upload a file or pick from the media library.
Some collections have an image gallery field (a list of images) rather than a body field. There you click Add images and pick a whole batch of photos at once — see structured content & fields.
Alt text
After adding an image you're asked for a short alt text— a plain description of what's in the image. It helps people using screen readers and improves SEO. Keep it concise and descriptive; you can skip it for purely decorative images.
The media library
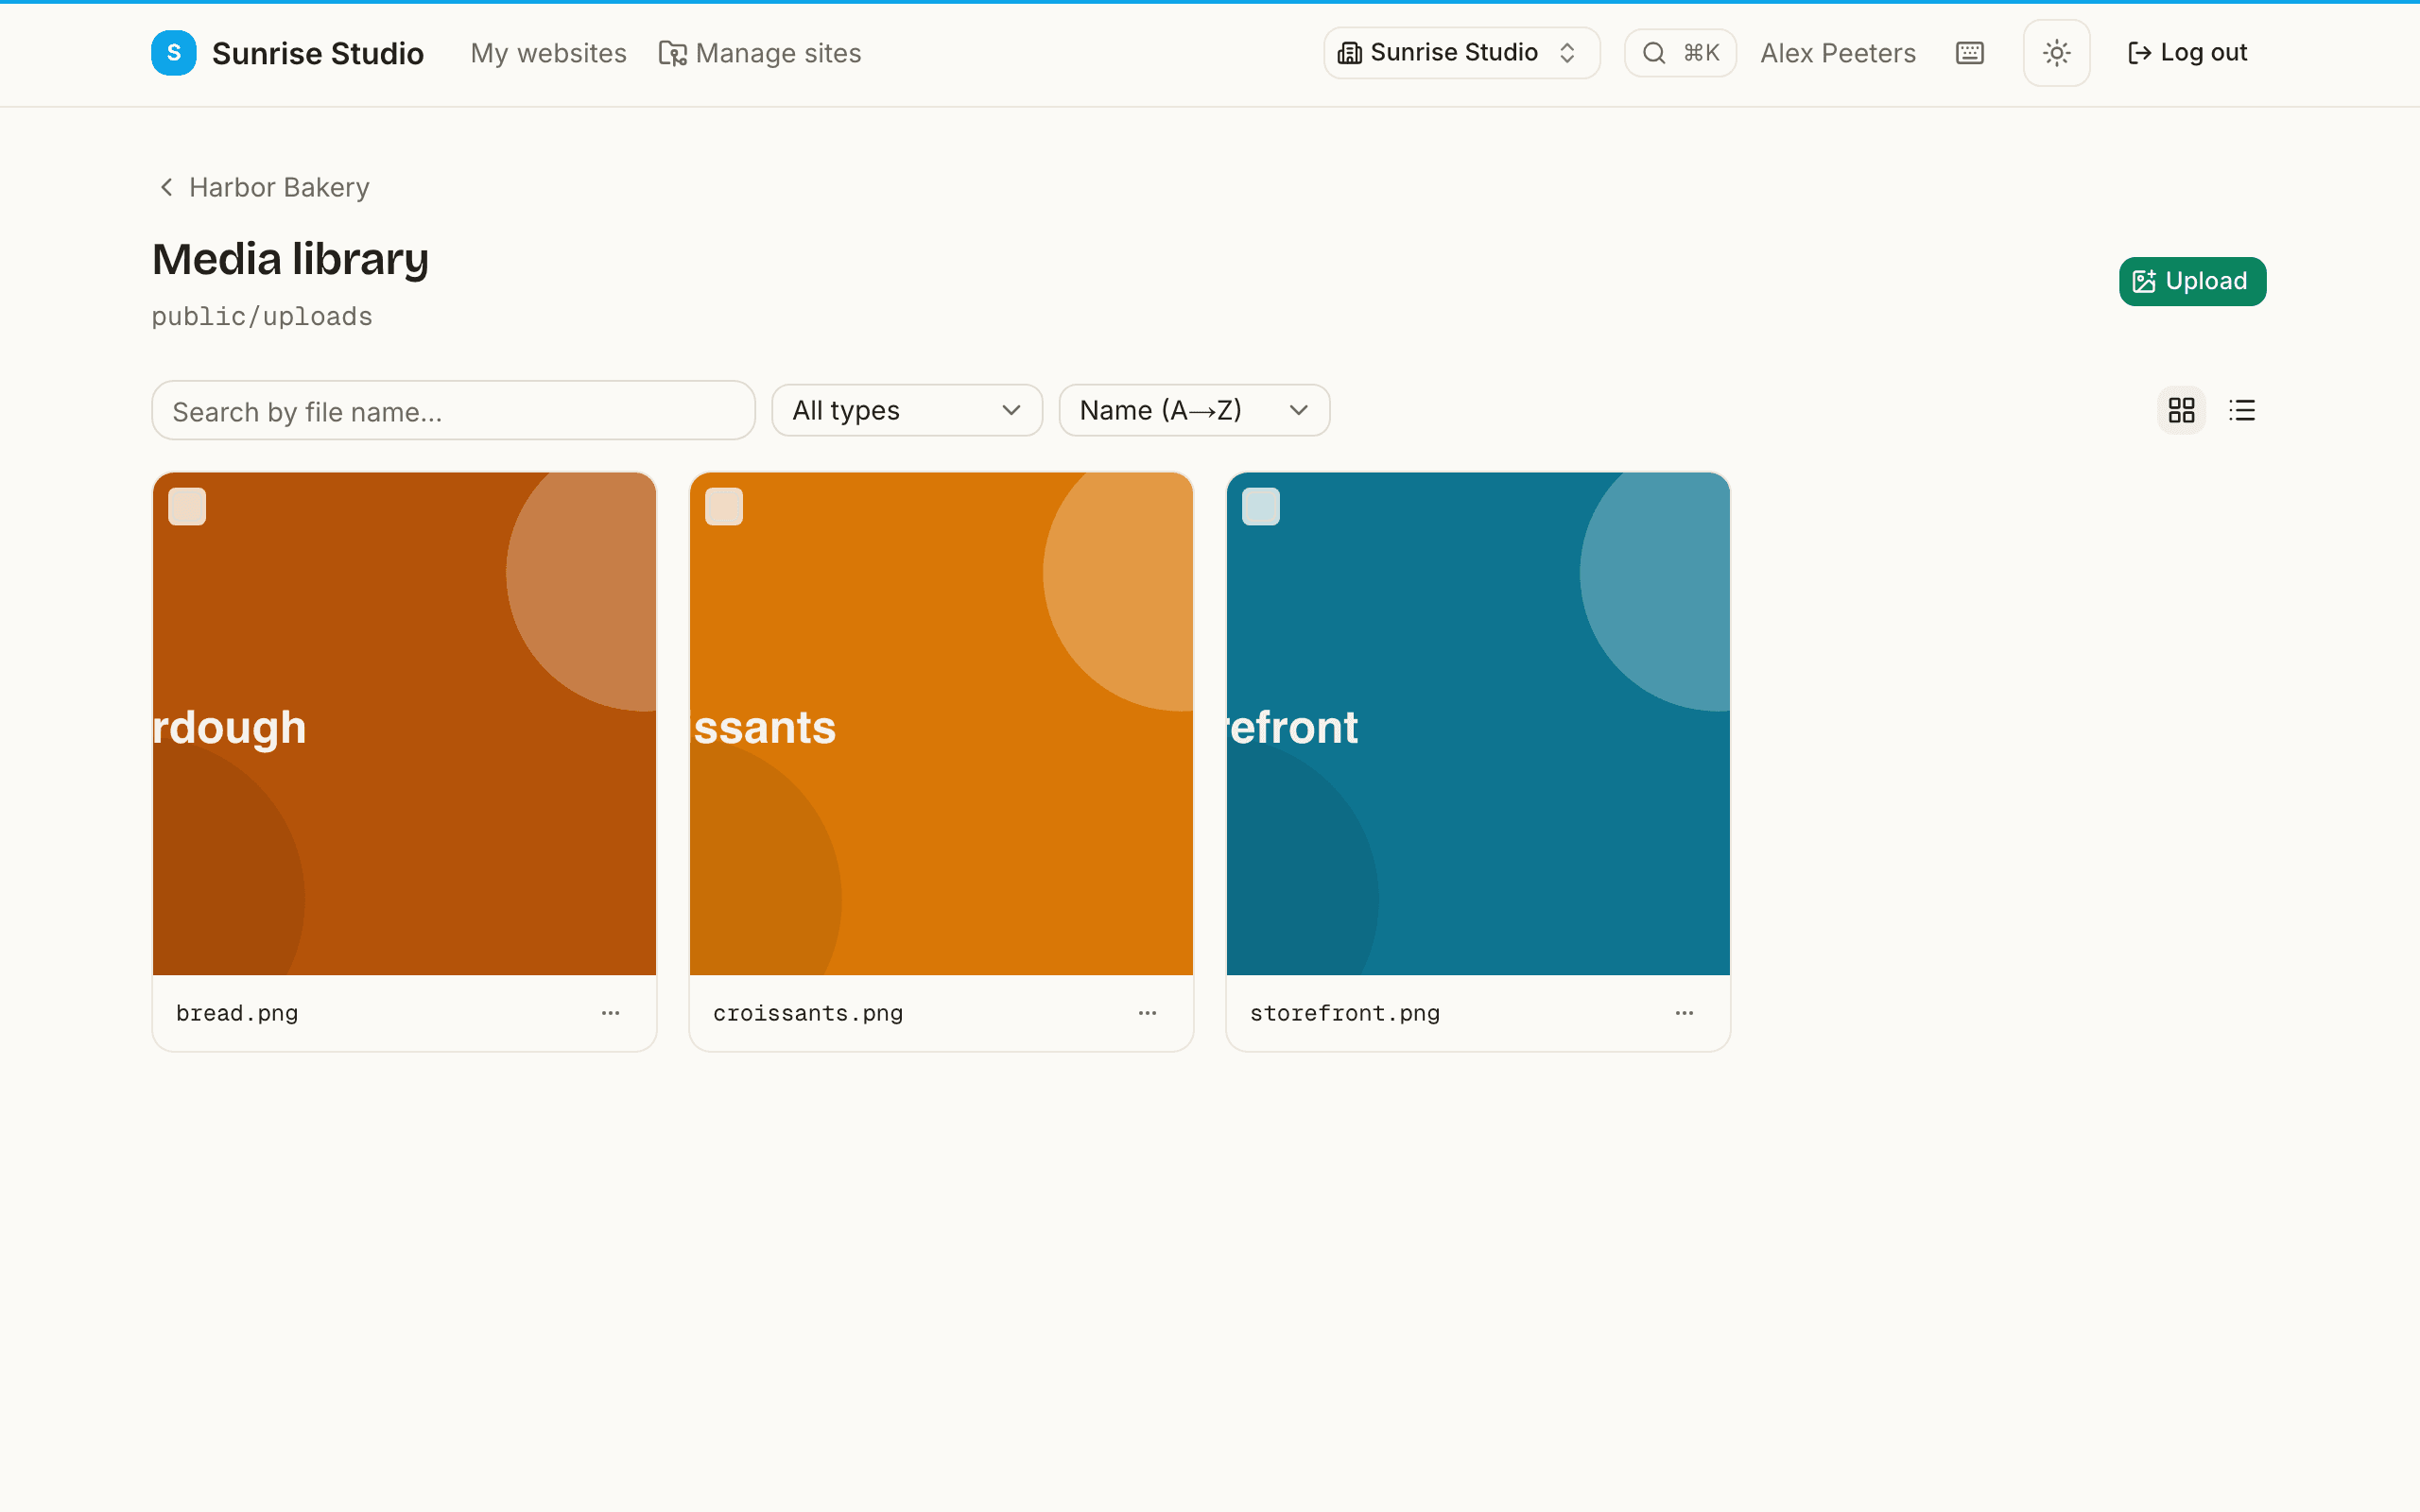
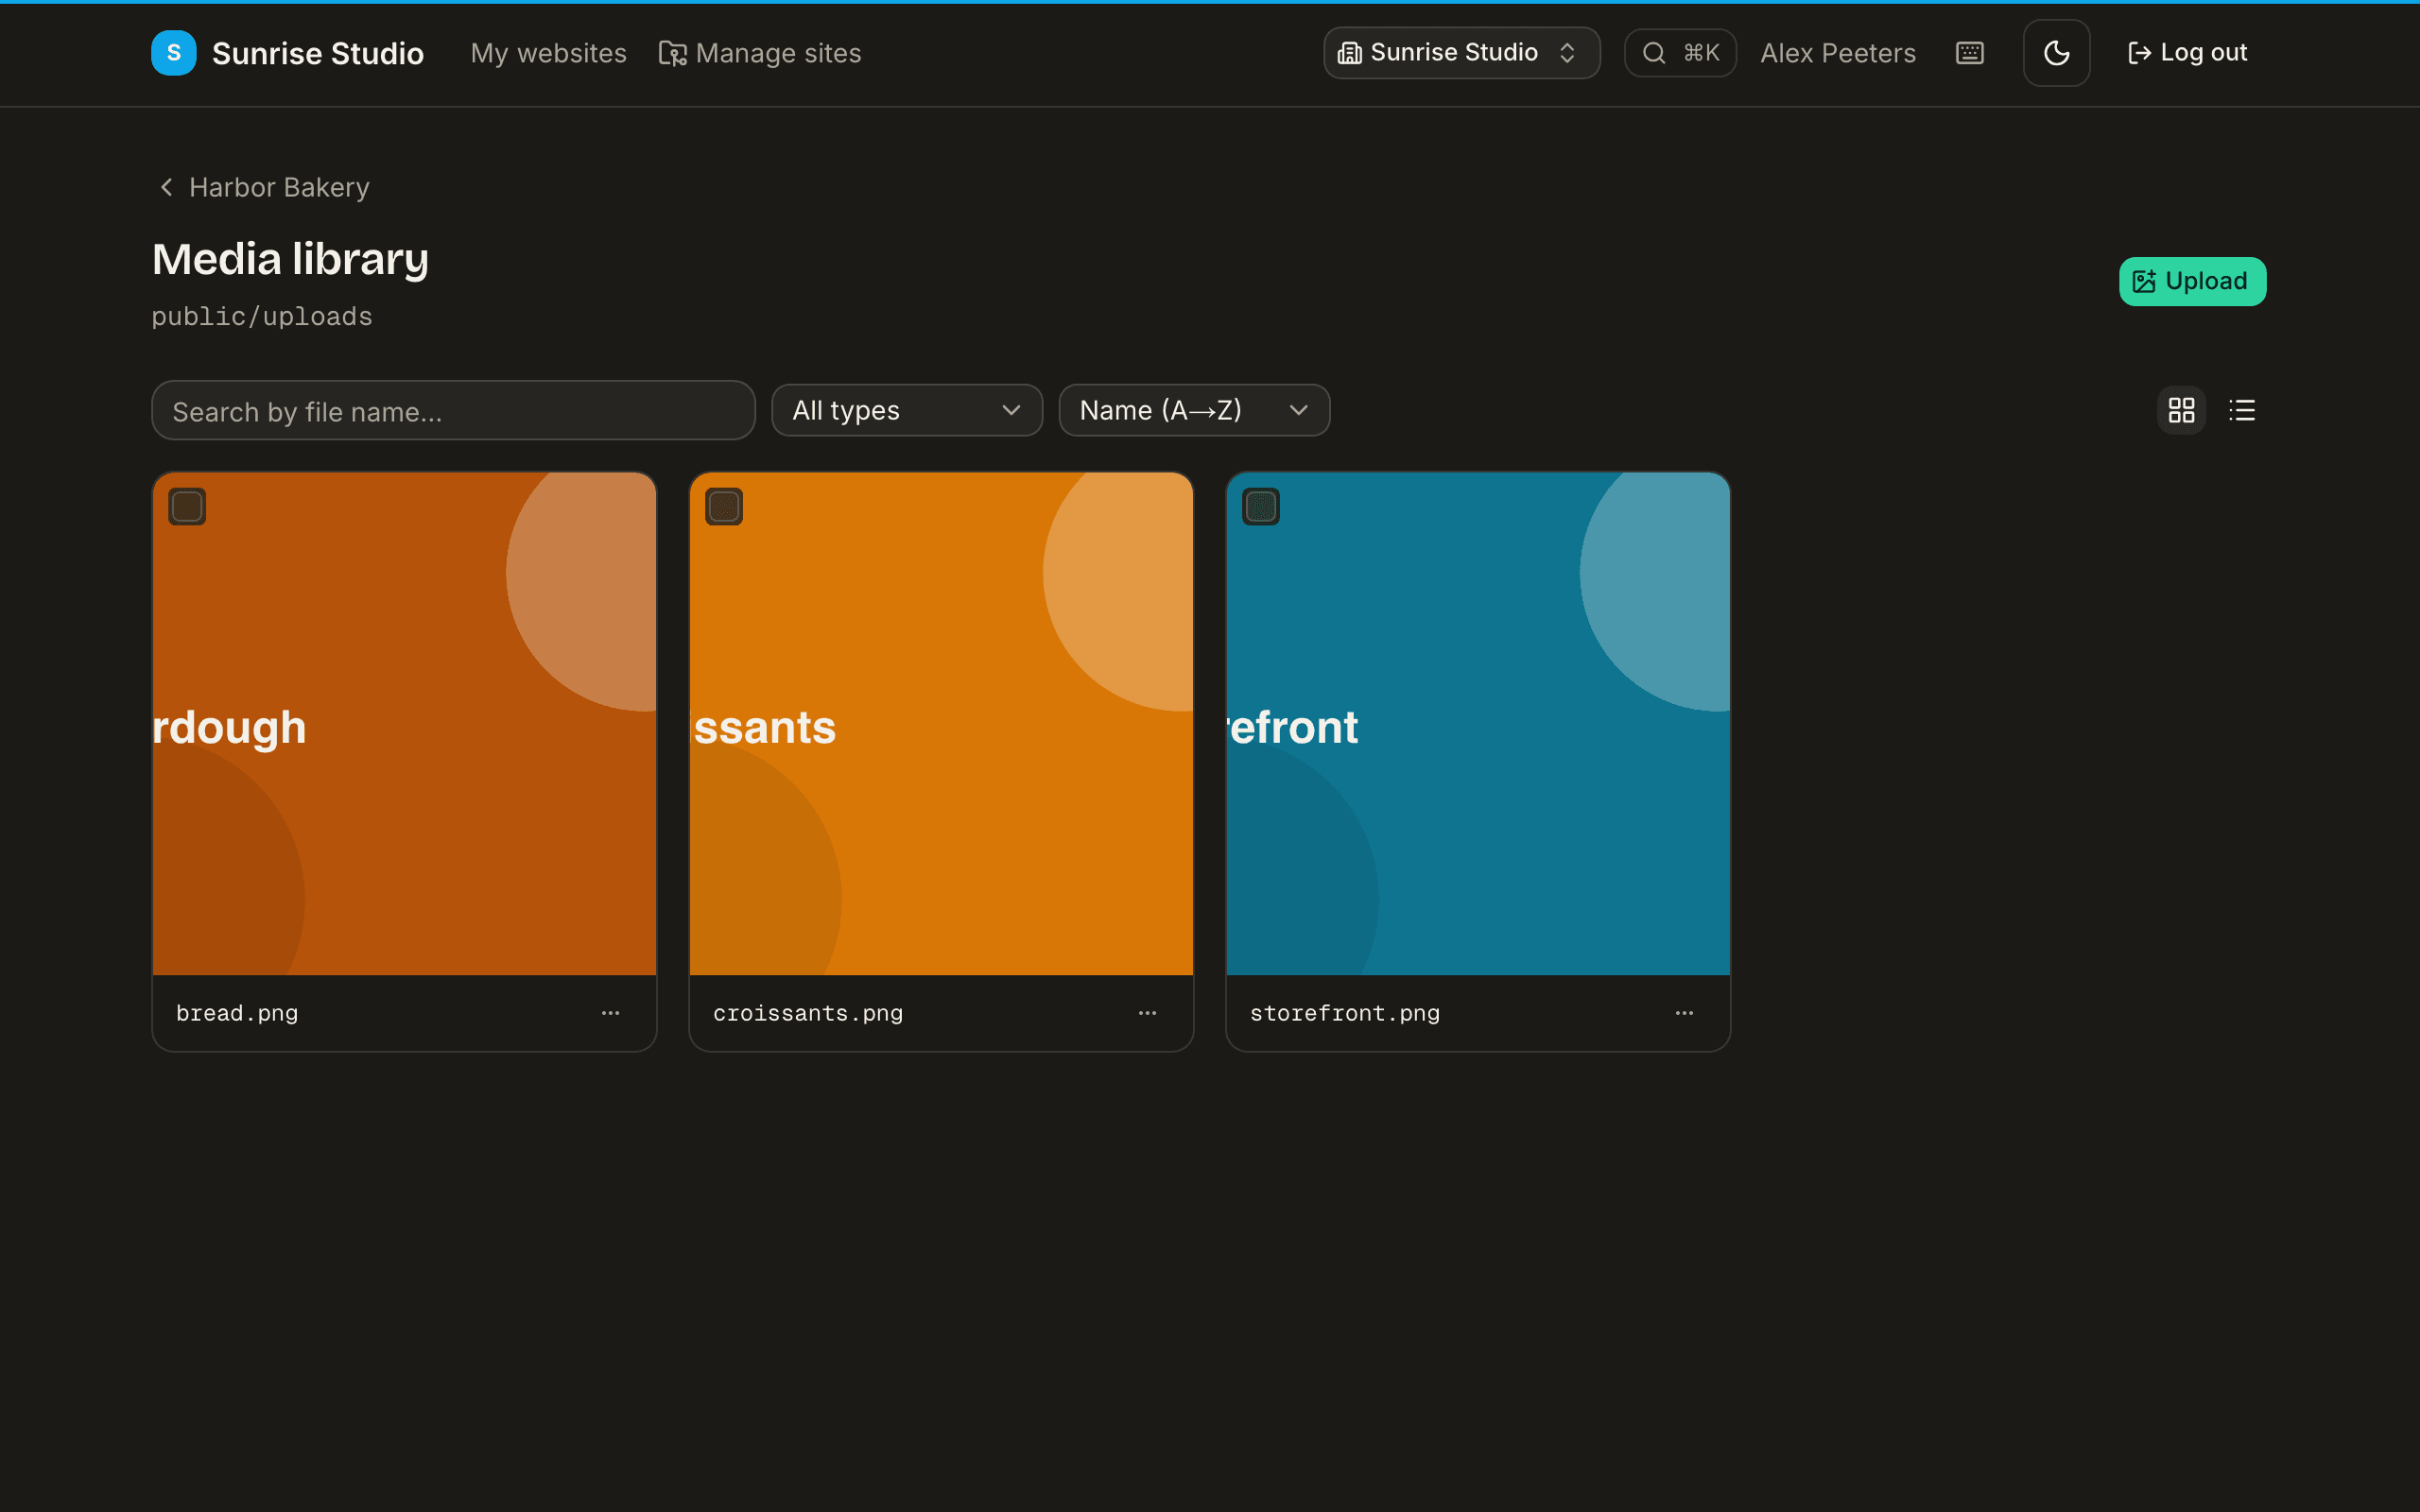
The media library shows every file already uploaded to the site, so you can reuse one instead of uploading it again. Open it from the image button, or visit a site's Media page to manage files:
- Search and filter by type (images, video, documents).
- Click a file to open a lightbox (a large preview).
- Use the ⋯ menu on a file to copy its public URL or a ready-made Markdown snippet — handy for pasting elsewhere.
- Editors can Upload photos straight to the library — pick a whole batch at once (JPG, PNG or WebP), resized in your browser like any other upload. Deleting files is reserved for administrators.
Stock photos
When your site has stock photos enabled, the media picker has a stocktab: search free photos, pick one, and it's committed alongside your content like any other upload (with alt text).
Generating an image with AI
On workspaces with AI image generation (the Agency plan, or a workspace using its own AI keys), the media picker has a Generate (AI) tab:
- Describe the image you want in the prompt box.
- Click Generate and review the preview.
- Add alt text and click Insert — the image is committed with your entry, exactly like an upload.
Editing an image with AI
You can also edit an image with a prompt — remove or replace the background, expand the scene, or restyle it:
- Just generated an image? Type a follow-up in the editbox (e.g. “remove the background”) and the preview is replaced with the edited version.
- Editing a library image? Select it, describe the edit, and the result comes back as a new image to insert — your original stays untouched.